(253) 961-4756
How to Paint Exterior Brick: Your Expert Guide to a Stunning Transformation
Goodly Service • October 18, 2023
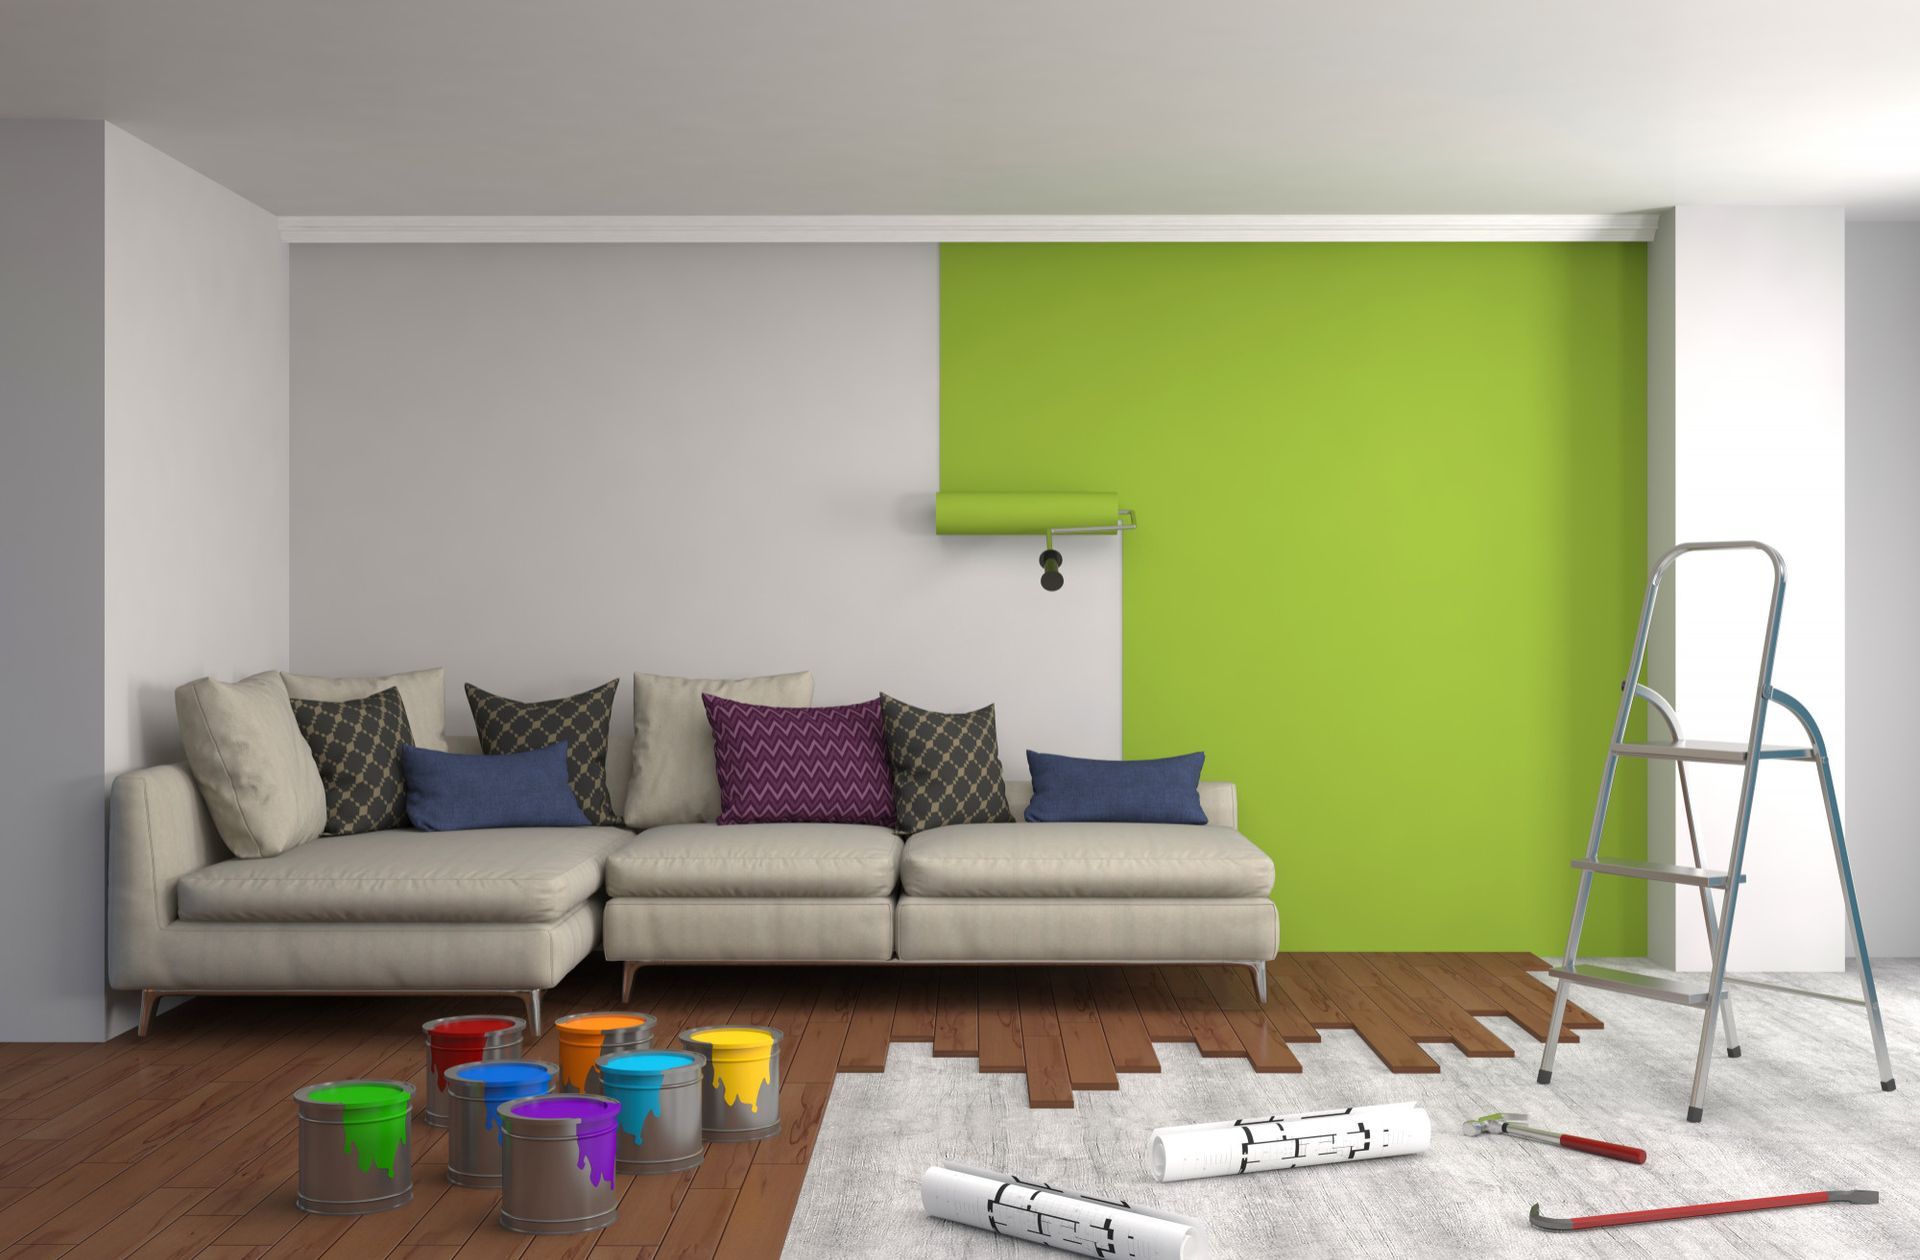
Are you tired of the lackluster appearance of your home's exterior? Do you crave a fresh and stunning transformation that will make your property stand out in the neighborhood? If so, you've come to the right place. In this comprehensive guide, we will take you through the step-by-step process of painting exterior brick, a powerful way to breathe new life into your home's façade and achieve that striking transformation you've been dreaming of.
Why Consider Painting Exterior Brick?
Before we delve into the nitty-gritty of how to paint exterior brick, let's talk about why you should consider this renovation project in the first place. Exterior brick is known for its durability and longevity, but over time, it can lose its charm due to weathering, discoloration, or simply outdated aesthetics. That's where painting comes in as a cost-effective solution to revitalize your home's appearance.
By painting exterior brick, you can:
- Enhance Curb Appeal: A fresh coat of paint can instantly boost your home's curb appeal, making it more visually appealing to potential buyers or guests.
- Protect and Preserve: Painting exterior brick helps seal the surface, protecting it from moisture, UV rays, and other elements that can lead to deterioration.
- Modernize Your Home: If you're looking to modernize your home's look, painting the brick can provide a contemporary and refreshed appearance.
- Express Your Style: Painting allows you to express your personal style and creativity by choosing the color and finish that best suits your vision.
Now that you understand the benefits, let's dive into our expert guide on painting exterior brick.
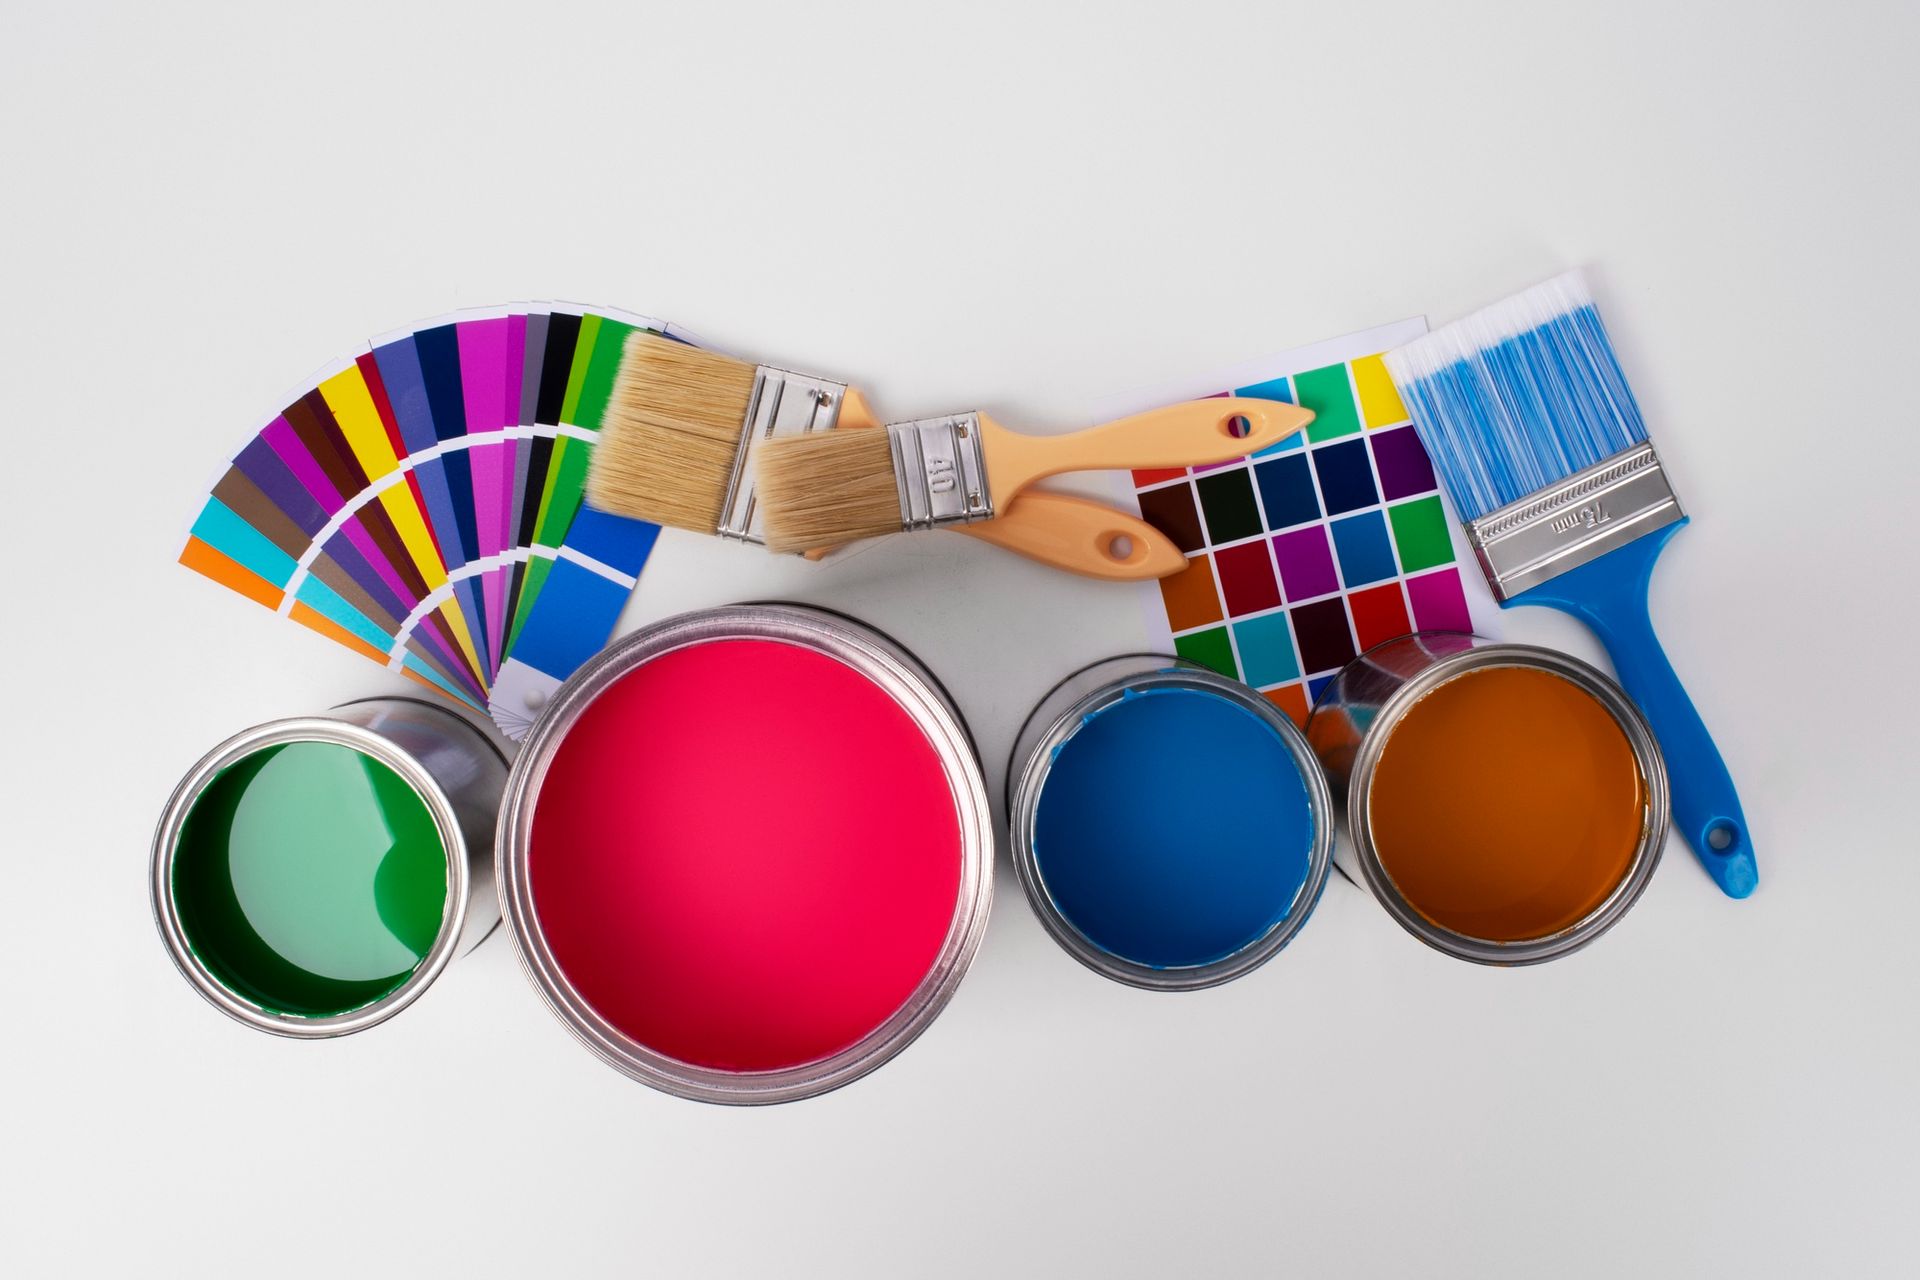
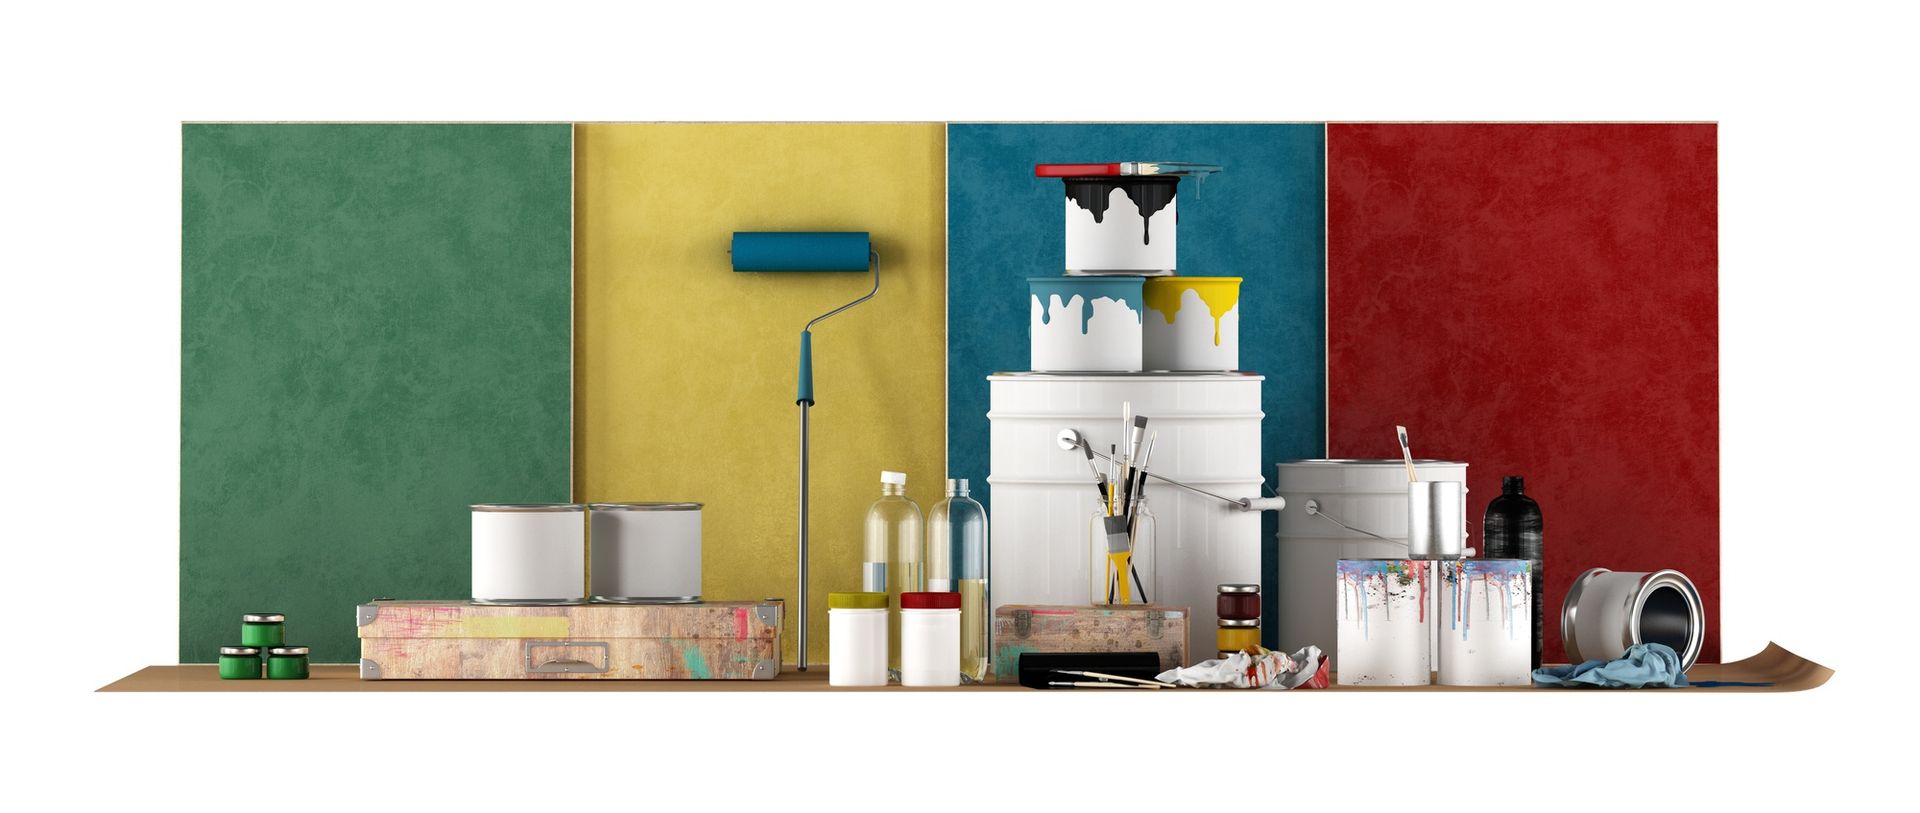
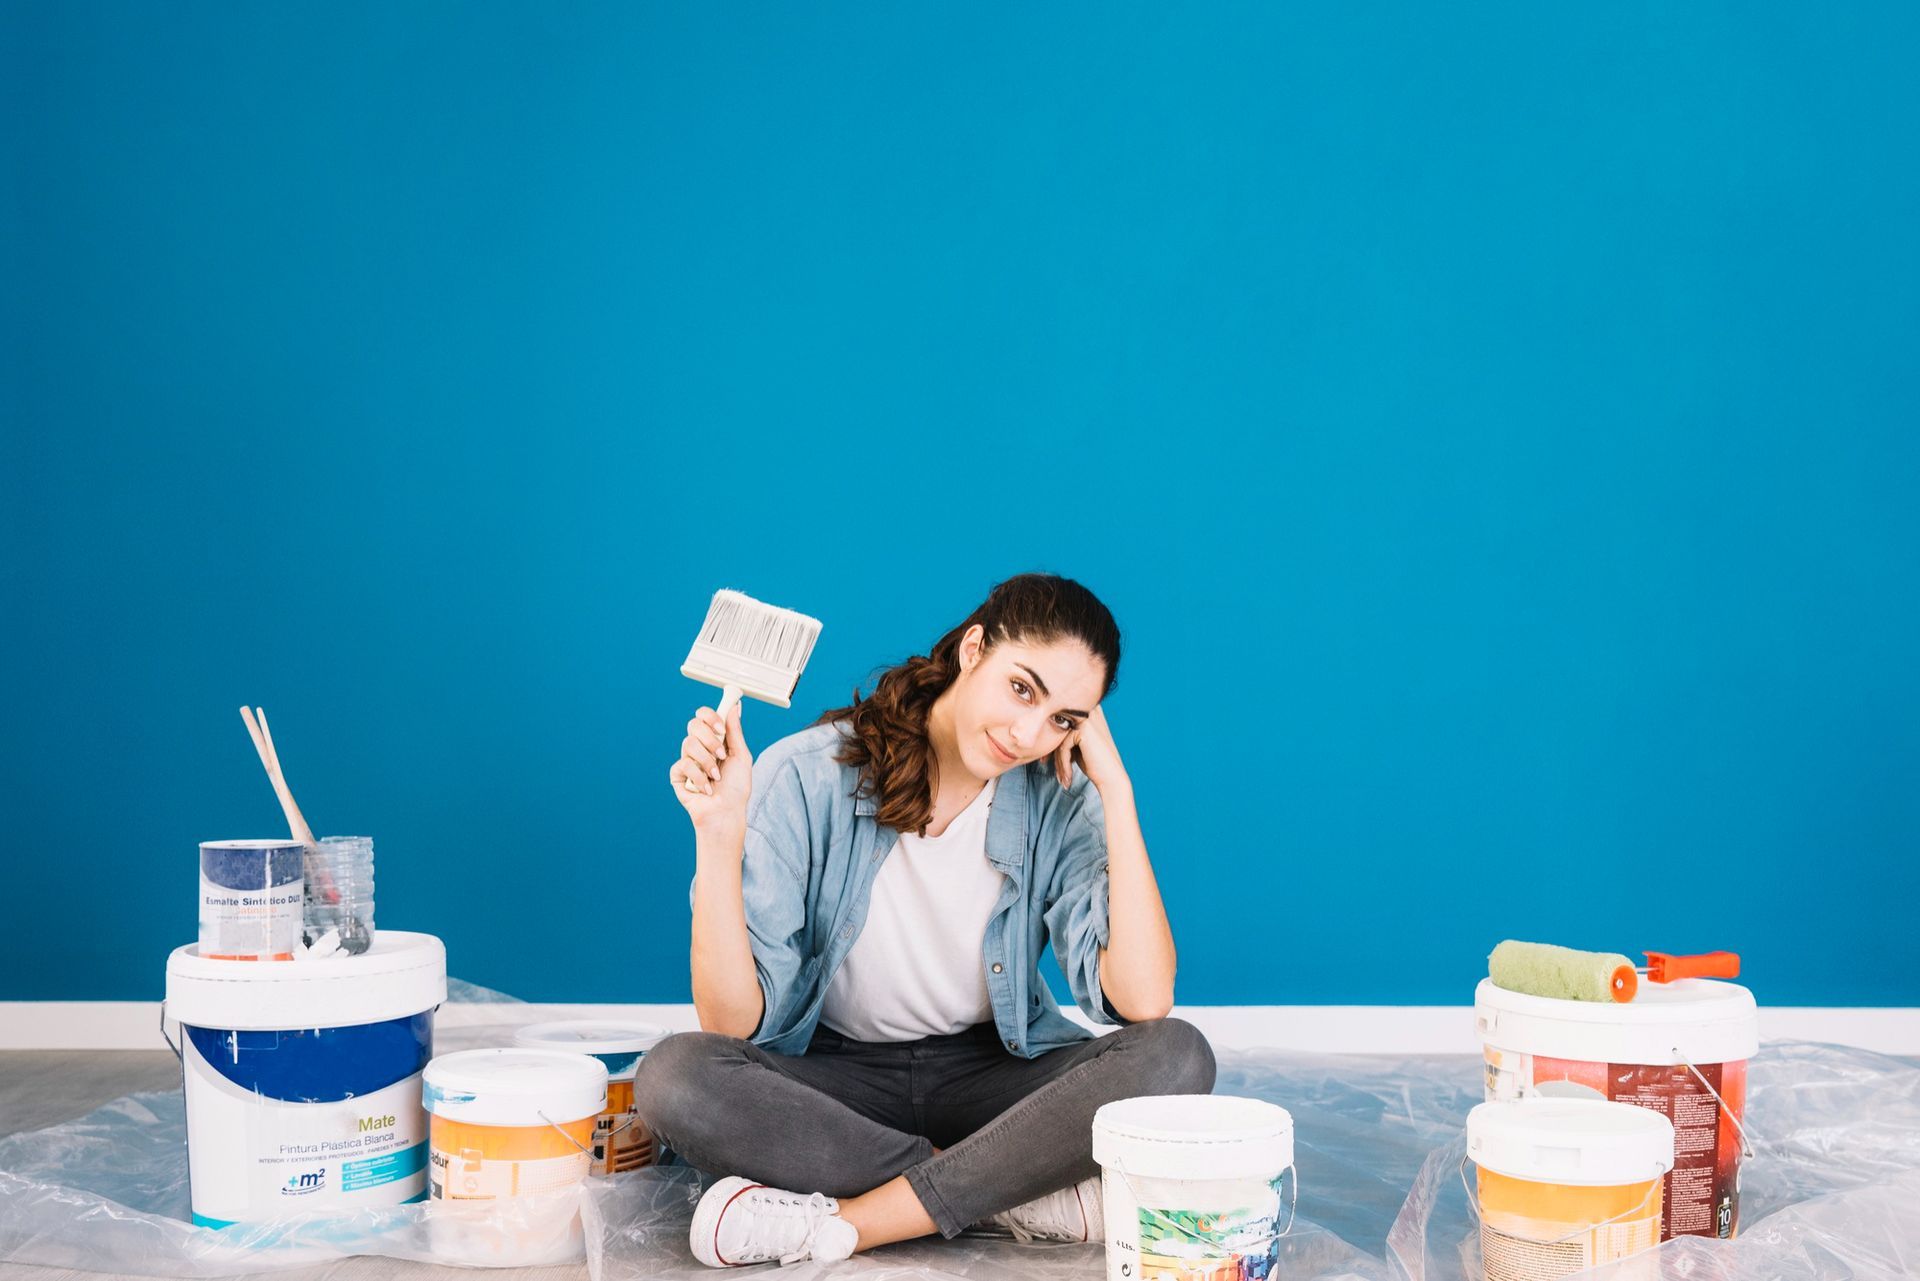
Step 1: Gather Your Materials
Before you start your exterior brick painting project, it's crucial to ensure you have all the necessary materials at hand. Proper preparation with the right tools and supplies is essential for a successful and professional-looking paint job. Here's a more detailed breakdown of the materials you'll need:
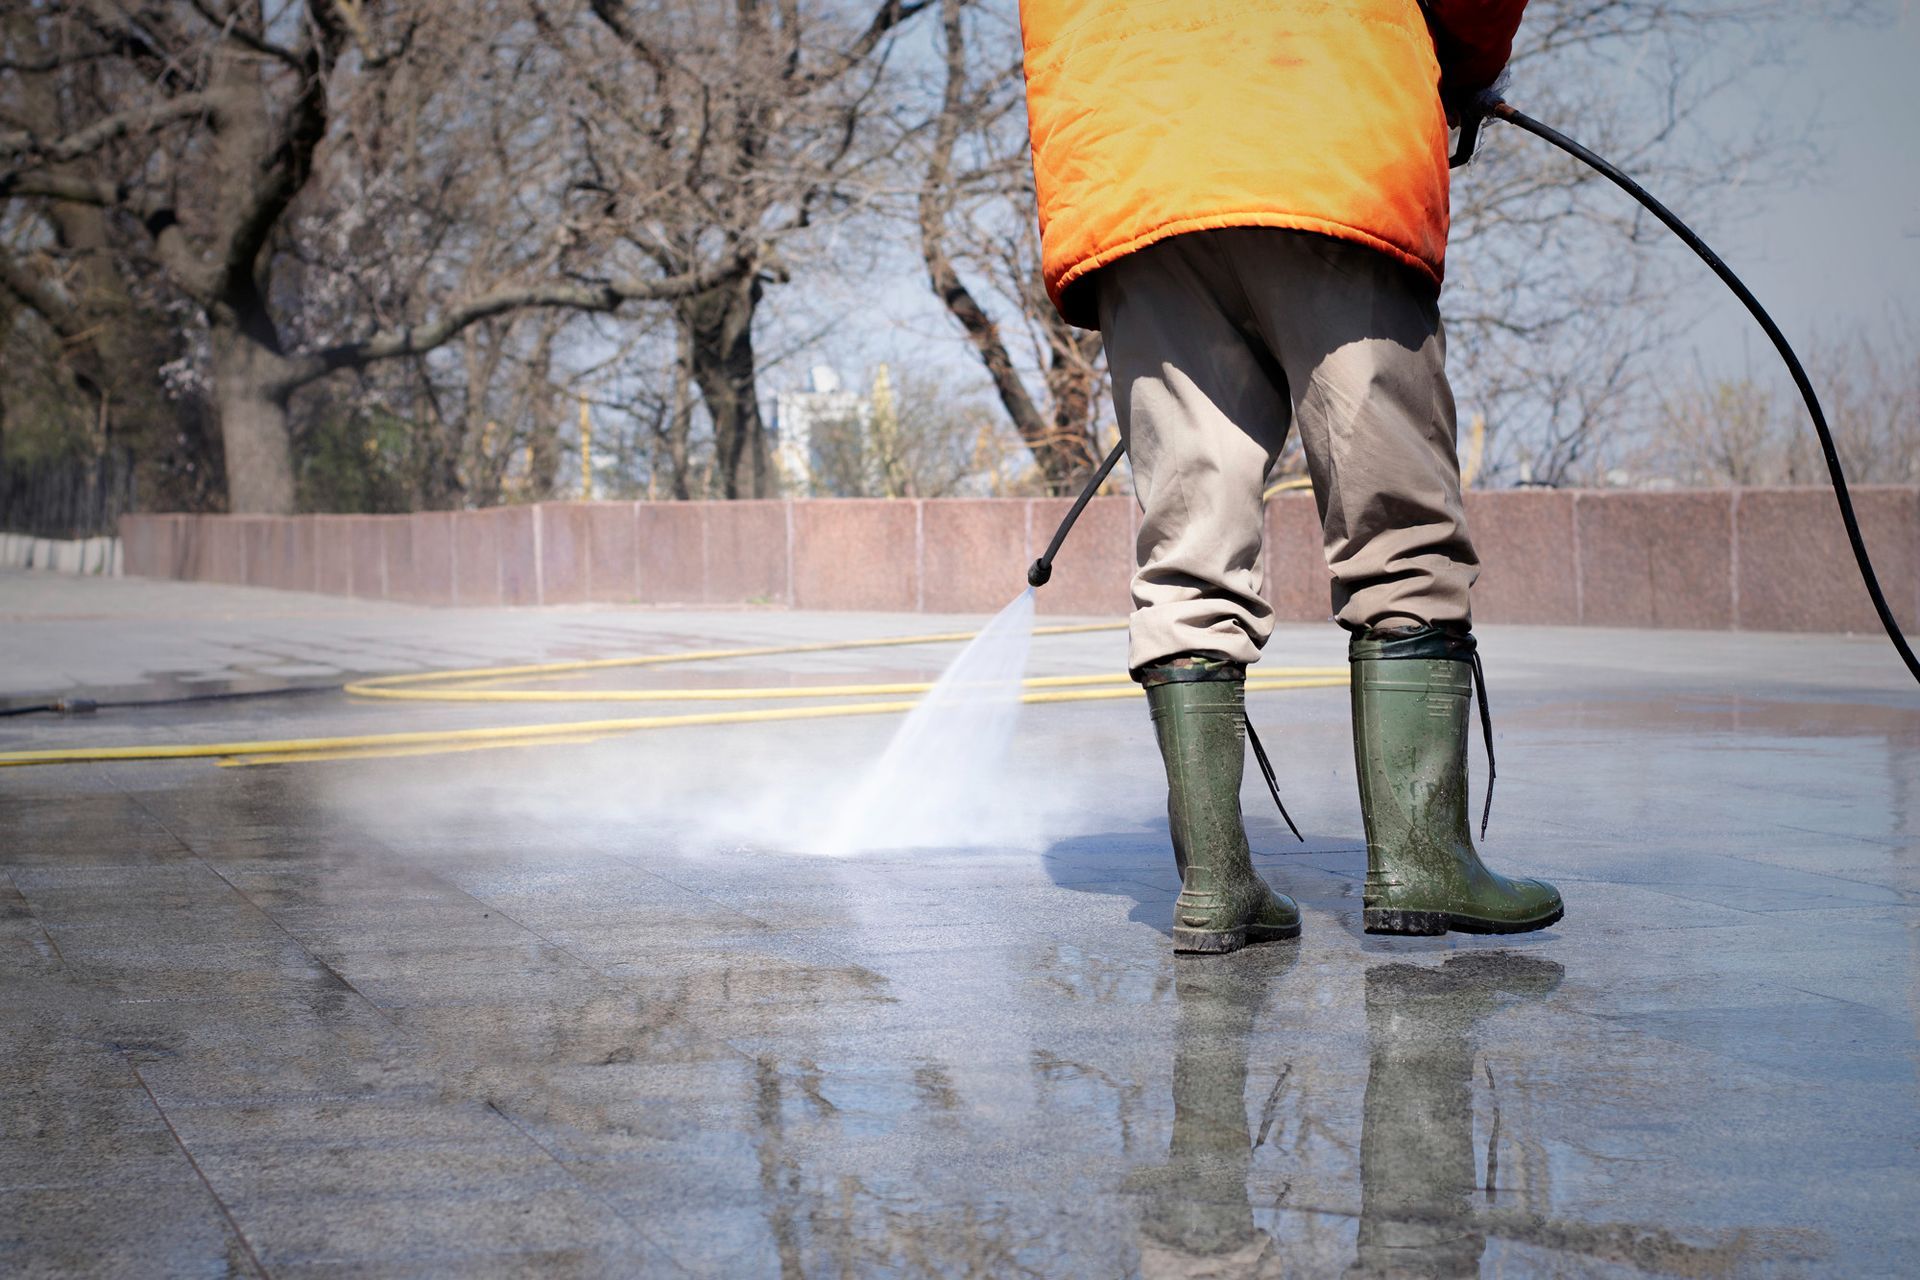
- Pressure Washer: Choose a pressure washer with adequate power to remove dirt, grime, and loose paint effectively. You can rent or purchase one from a local hardware store if you don't already own one.
- Cleaning Solution: Select a cleaning solution suitable for masonry surfaces. You can purchase a commercial masonry cleaner or create your own by mixing water with mild detergent or trisodium phosphate (TSP). Follow the manufacturer's instructions or your DIY cleaner's recipe.
- Painter's Tape: Invest in high-quality painter's tape designed for outdoor use. This tape is essential for masking areas you don't want to paint, such as window frames, door frames, and trim.
- Paintbrushes: For precision work, such as cutting in around edges, corners, and intricate details of the brickwork, you'll need a variety of paintbrushes in different sizes.
- Paint Rollers: Use a high-quality paint roller with a suitable nap (usually around 3/8-inch for brick) to cover larger areas of the brick surface efficiently.
- Masonry Primer: Choose a masonry primer designed for exterior use. The primer should have excellent adhesion properties and be compatible with the type of exterior paint you plan to use.
- Exterior Paint: Opt for a premium-quality exterior paint that is specially formulated for masonry surfaces. Select your desired color and finish (e.g., flat, satin, or semi-gloss) based on your aesthetic preferences and the surrounding environment.
- Drop Cloths or Tarps: Cover the ground, plants, and any adjacent surfaces you want to protect from paint splatter or drips with drop cloths or plastic tarps.
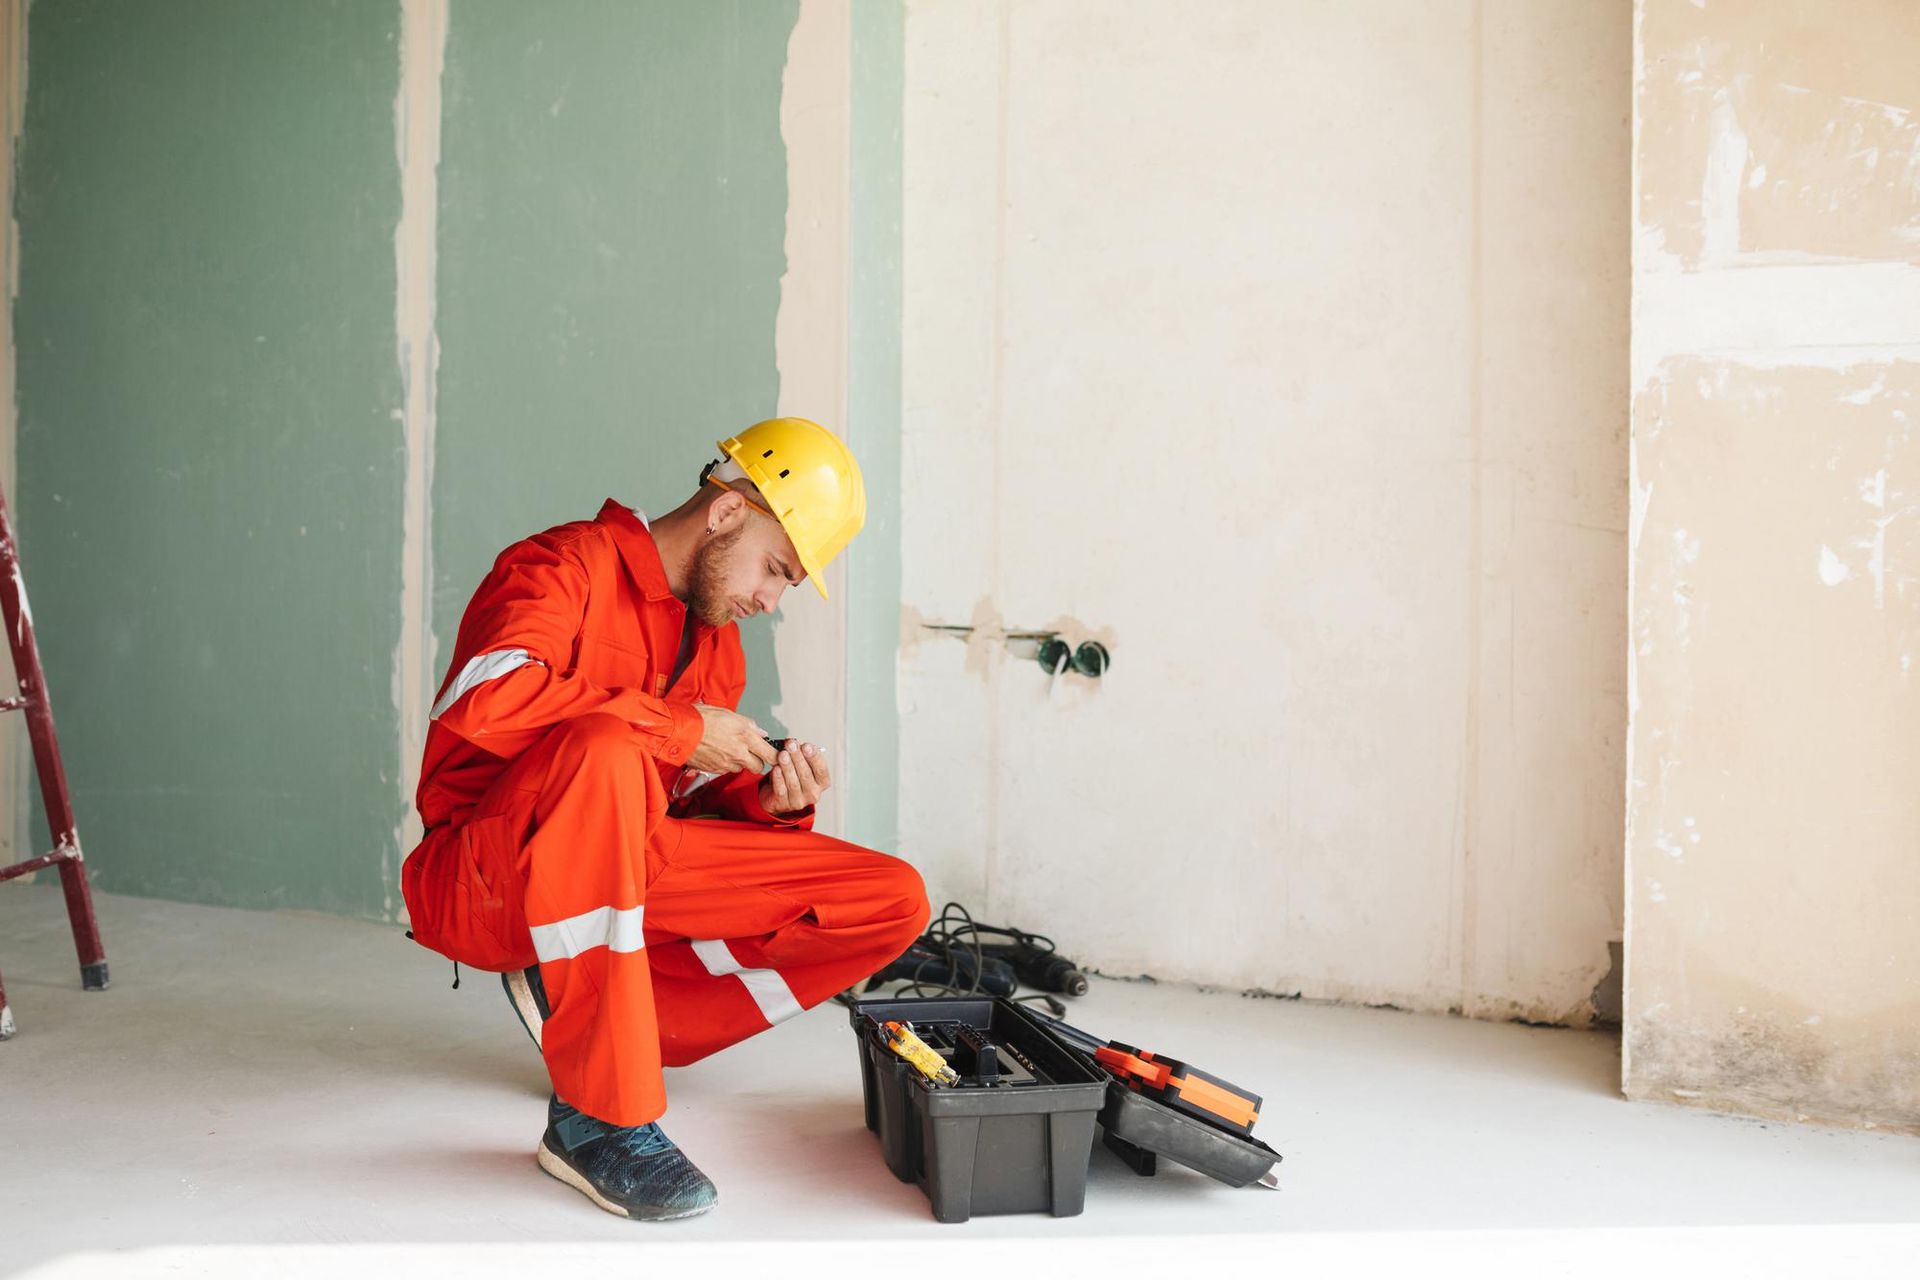
- Safety Gear: Protect yourself during the painting process with safety gear, including safety goggles, gloves, and a dust mask or respirator. Depending on the height of your project, consider using a sturdy ladder with stable footing.
Step 2: Prepare the Surface
Proper surface preparation is the key to a successful exterior brick painting project. This step ensures that the paint adheres well and provides a long-lasting finish. Here's a more detailed explanation of how to prepare the brick surface:
- Clean the Brick: Begin by thoroughly cleaning the exterior brick surface. Attach a suitable nozzle to your pressure washer, and use it to remove dirt, dust, cobwebs, and any loose or flaking paint. Start from the top and work your way down to prevent streaking. Pay close attention to areas with mildew or mold growth.
- Mix and Apply Cleaning Solution: Prepare your cleaning solution according to the manufacturer's instructions or your DIY recipe. Apply the solution to the brick using a pump sprayer or a large brush. Allow it to sit for several minutes (typically 10-15 minutes) to break down stains and contaminants.
- Scrub and Rinse: Use a stiff nylon brush or a specialized brick cleaning brush to scrub the brick surface gently. Focus on stubborn stains, algae, or mildew. After scrubbing, thoroughly rinse the brick with clean water using the pressure washer. Ensure that all cleaning solution residues are removed.
- Inspect for Damage: Once the brick is clean and dry, inspect it closely for any signs of damage, such as cracks, holes, or spalling (surface deterioration). Address these issues by filling cracks and holes with a suitable masonry filler or patching compound. Follow the manufacturer's recommendations for drying times.
- Priming: Apply a high-quality masonry primer to the entire brick surface. Priming is essential because it creates a uniform surface for the paint to adhere to, promotes better adhesion, and helps prevent efflorescence (white, powdery deposits). Allow the primer to dry thoroughly, typically for 24 hours or as specified on the product label.
By taking the time to gather the right materials and thoroughly prepare the brick surface, you'll set the stage for a successful exterior brick painting project that will result in a stunning transformation for your home's façade.
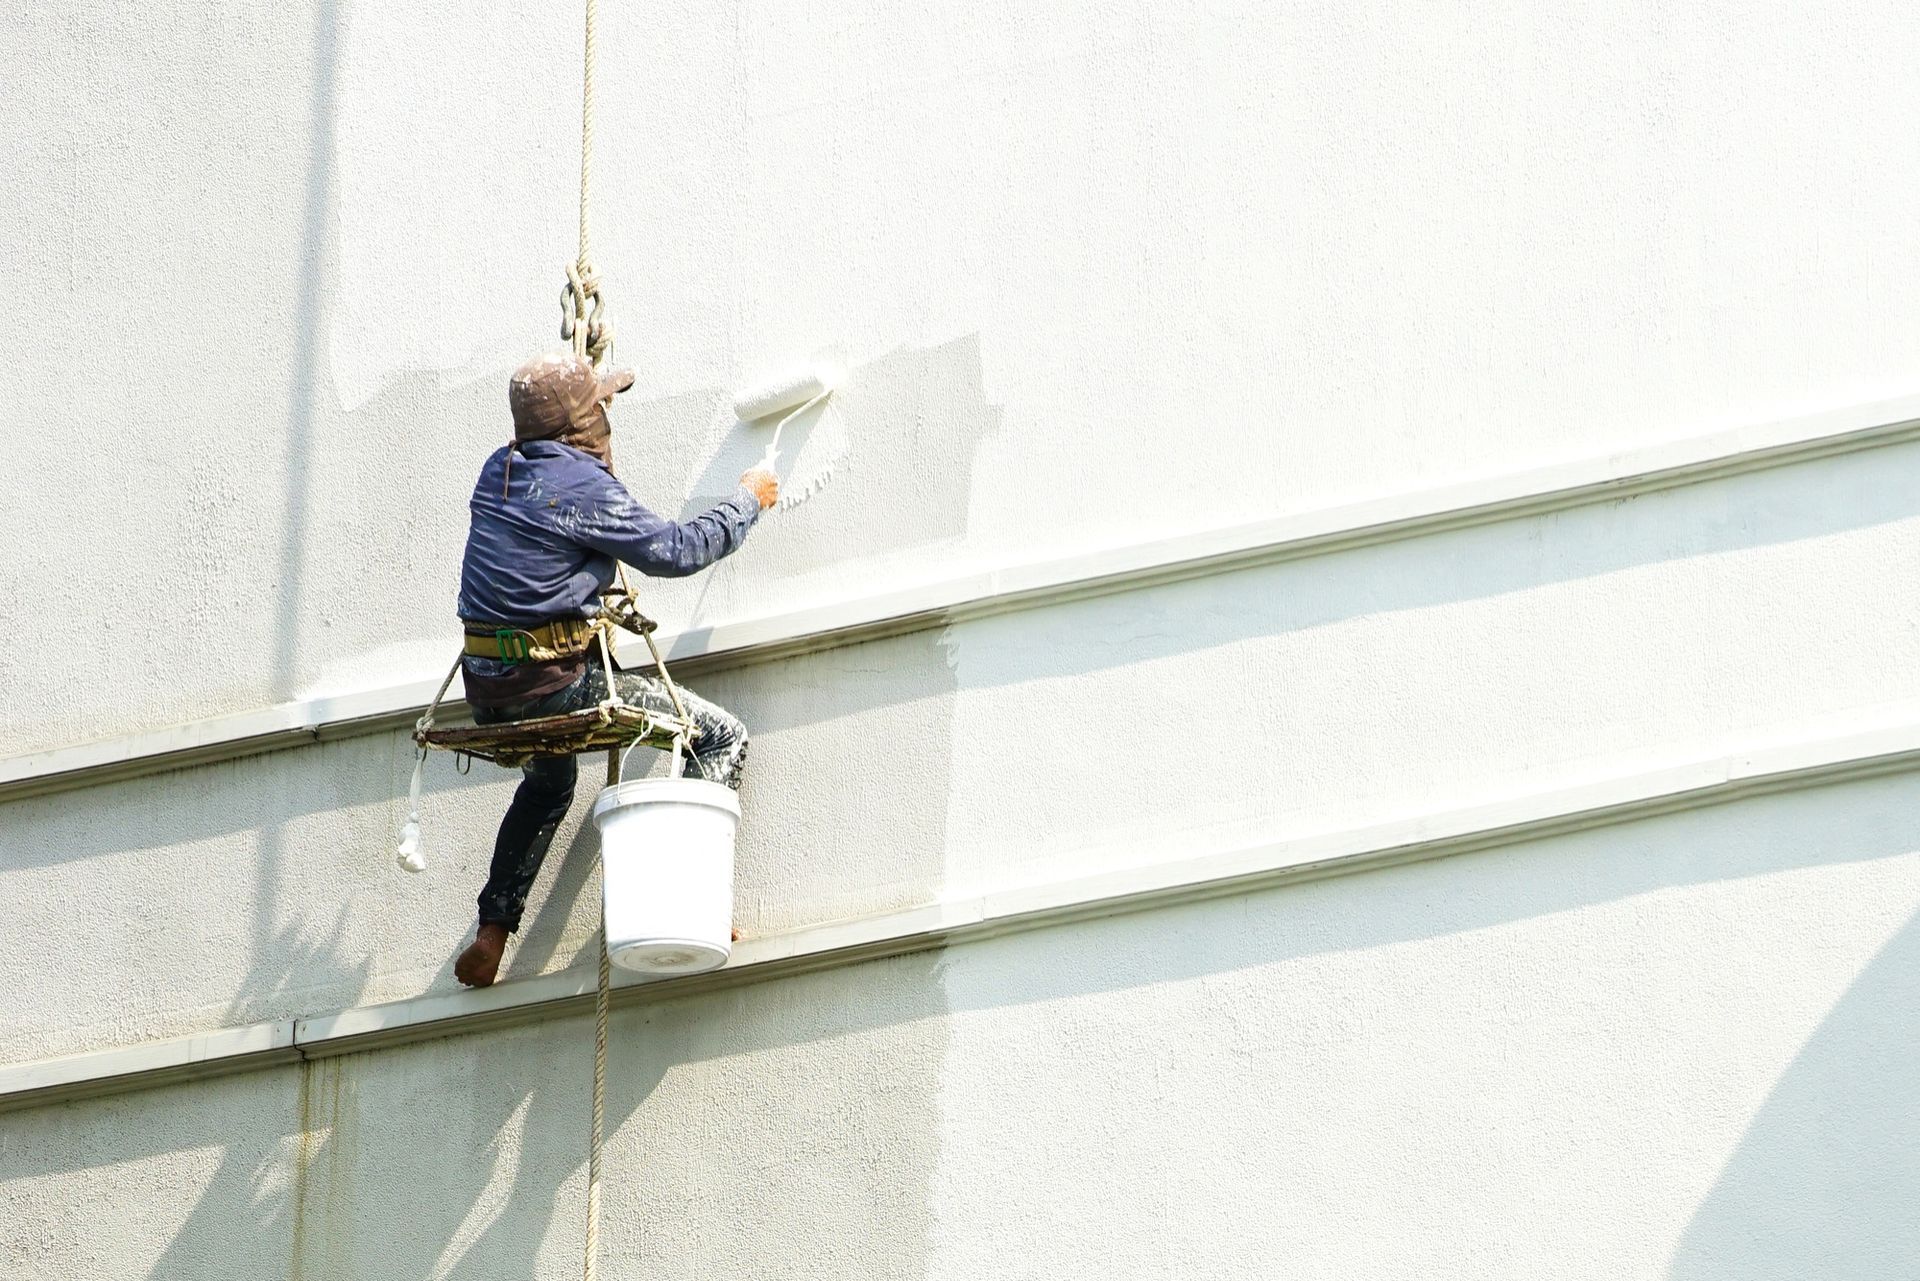
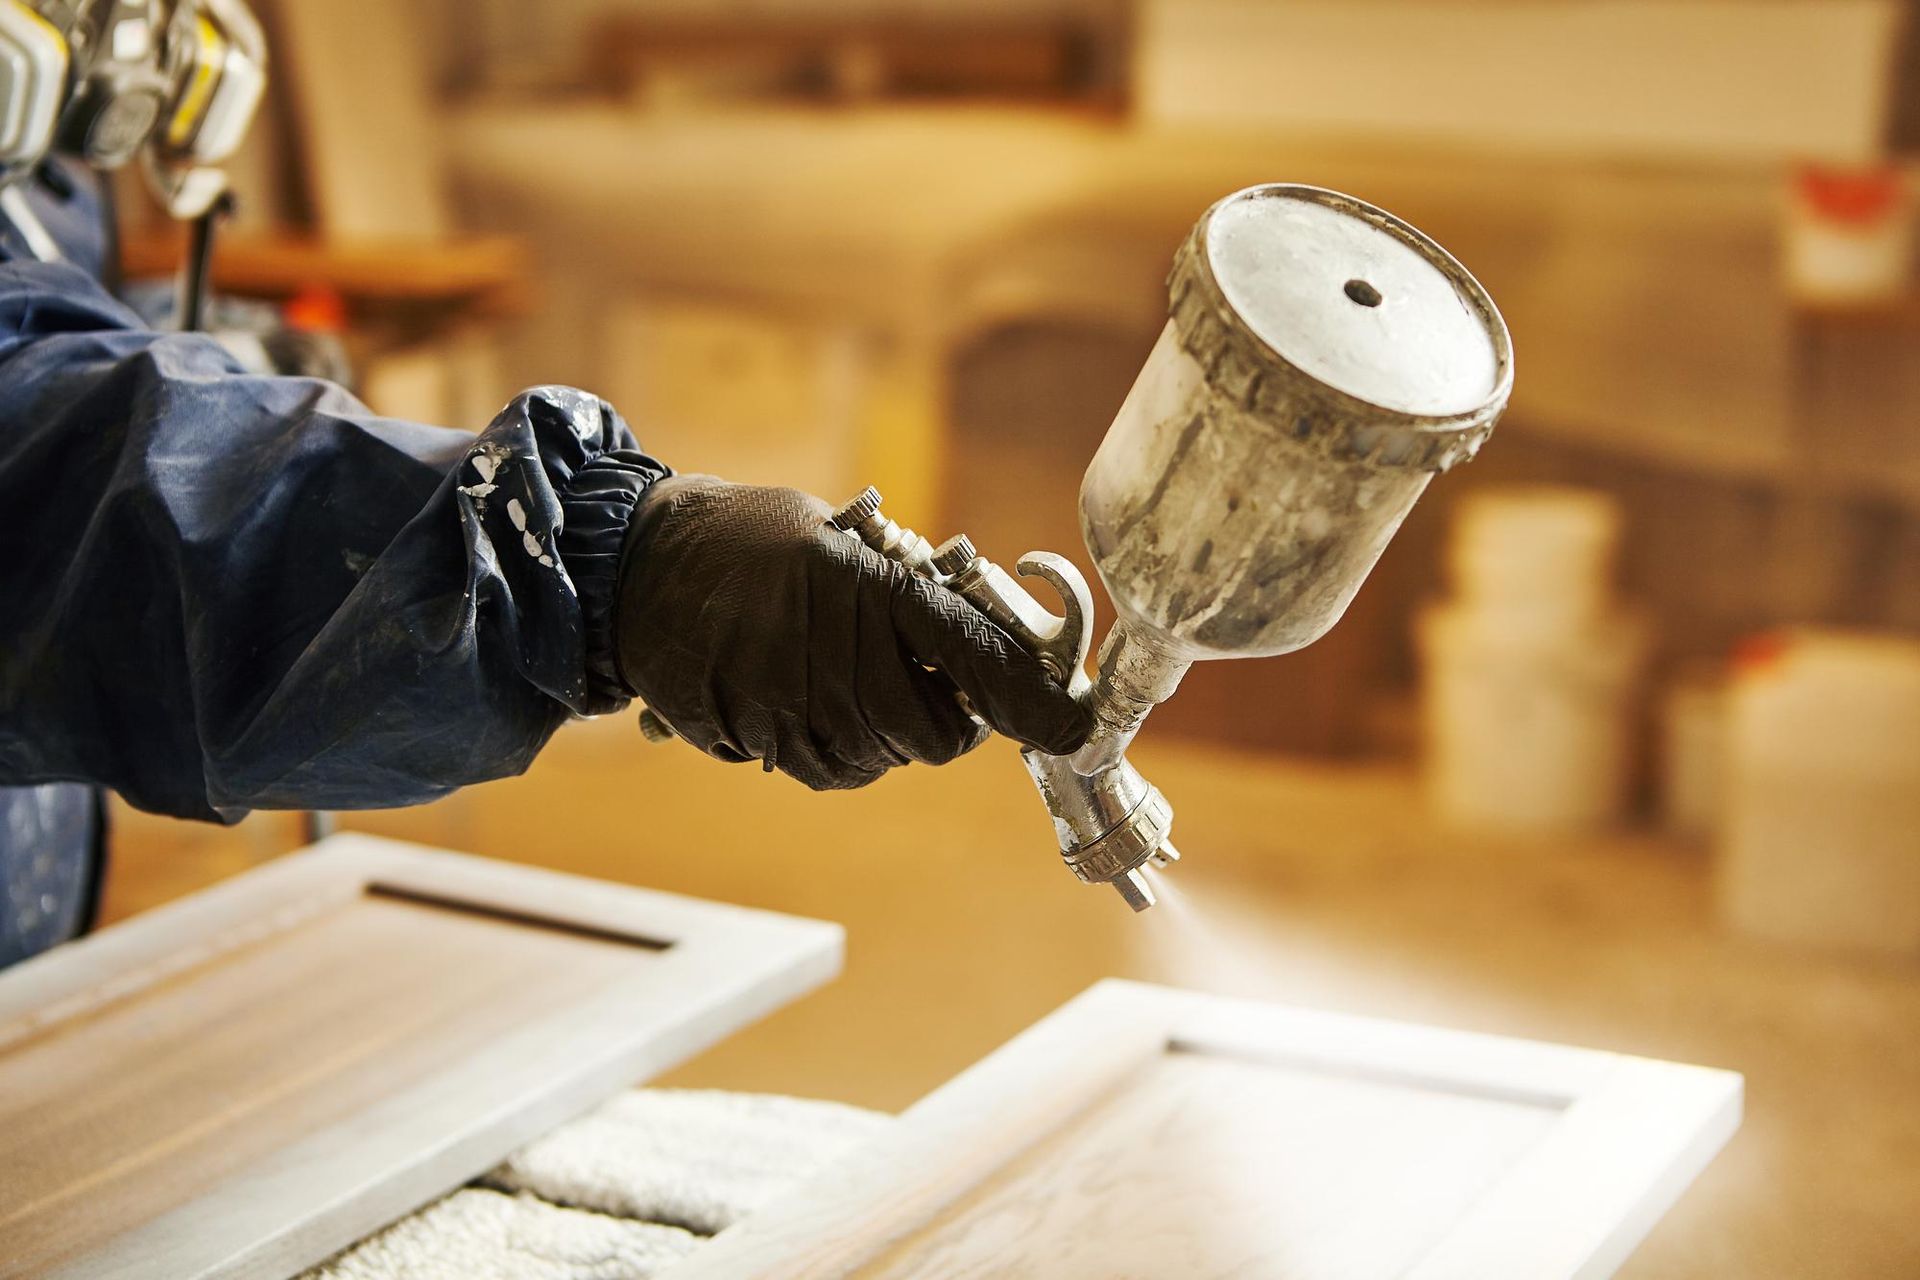
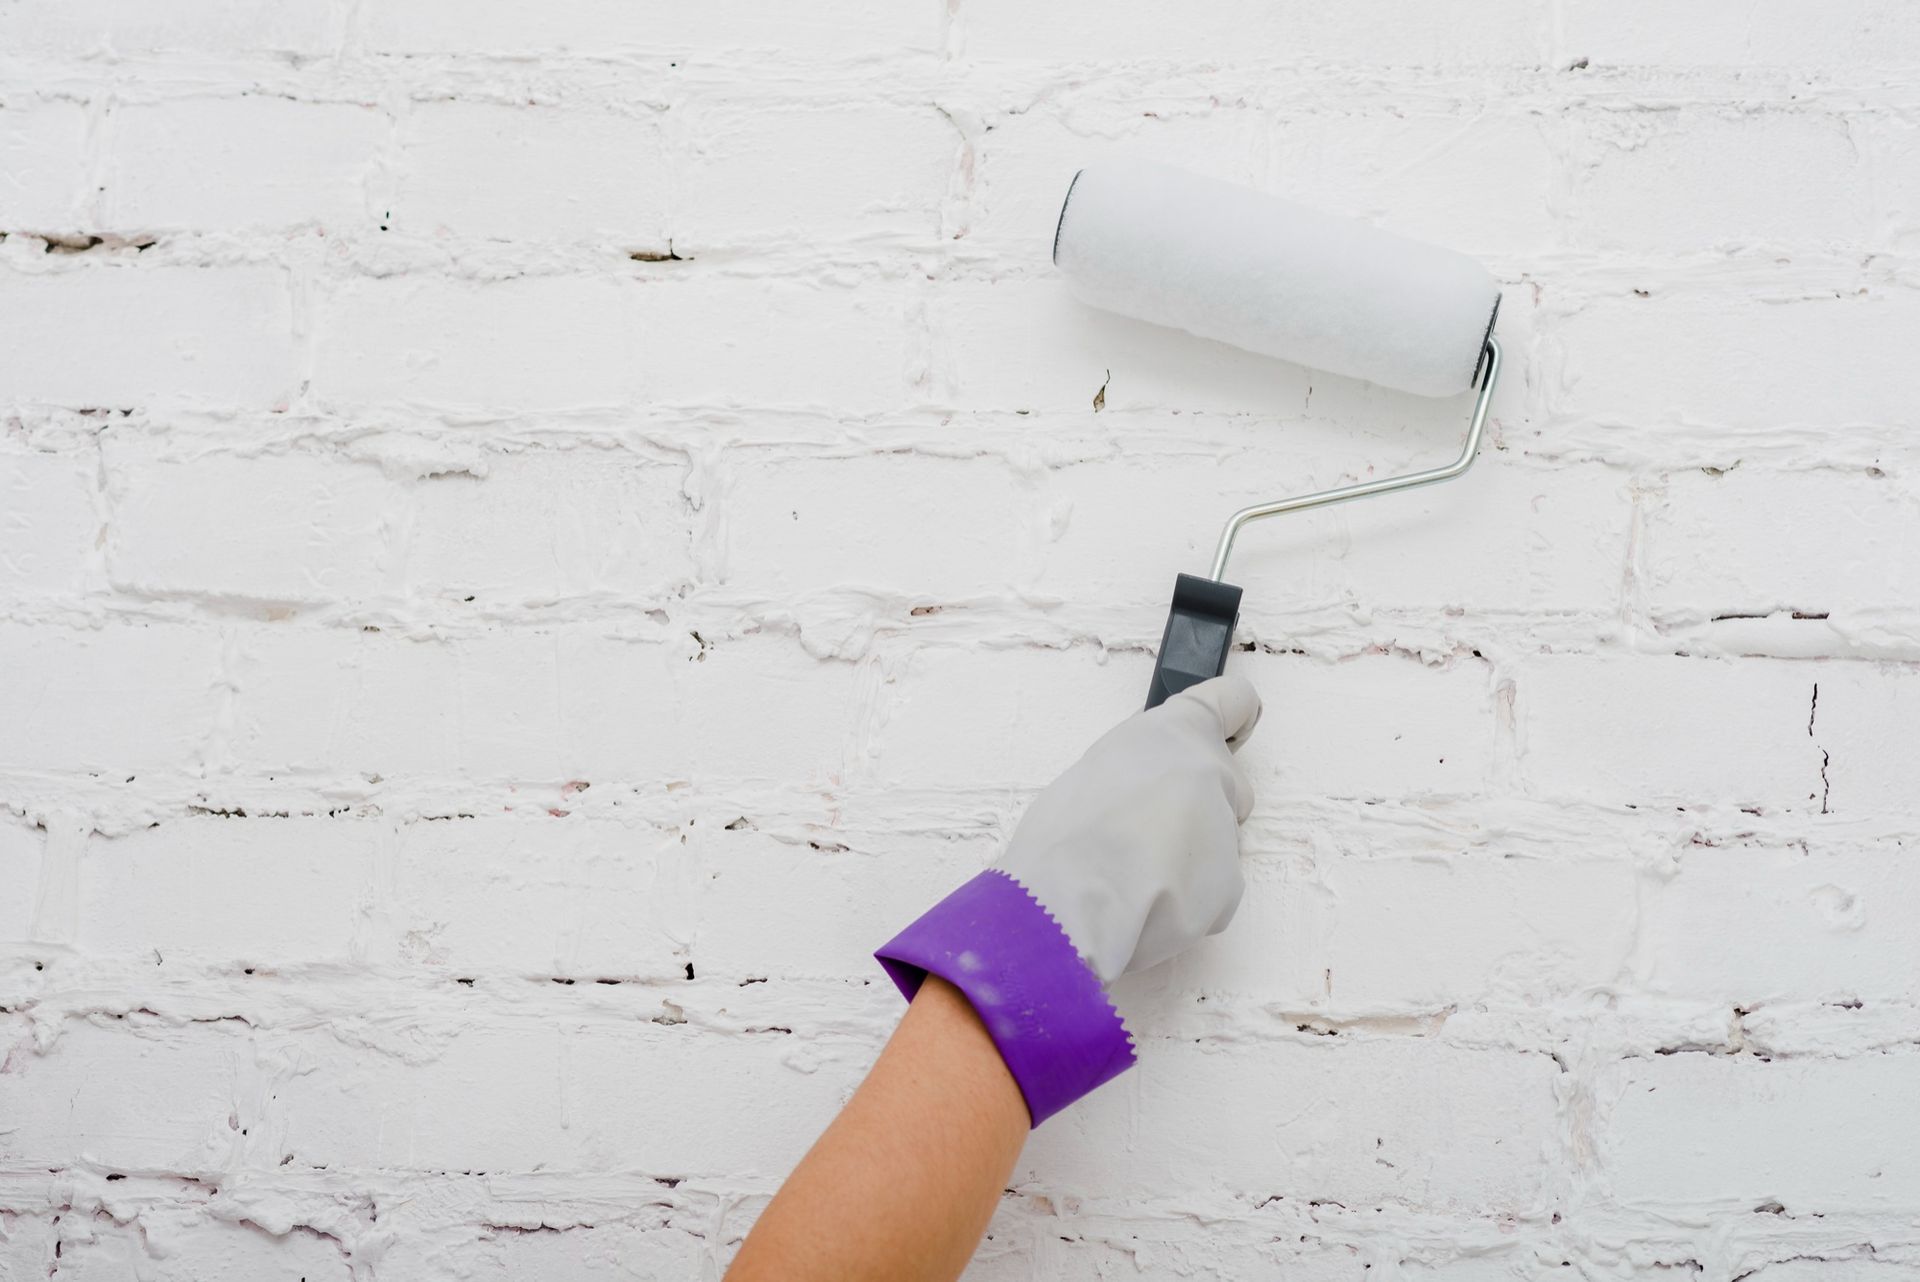
Step 3: Painting Exterior Brick
Now that you've completed the crucial preparation work, it's time to start the actual painting process. Achieving a professional-looking finish requires attention to detail and patience. Here's a more detailed breakdown of how to paint exterior brick:
- Cut in with a Paintbrush: Begin by "cutting in" around the edges and corners of the brick surface using a high-quality paintbrush. Cutting in involves carefully painting areas where a roller cannot reach, such as the mortar joints, brick edges, and any intricate brickwork details. It's important to work meticulously to achieve clean lines and a polished appearance.
- Choose the Right Roller: Select a paint roller with a suitable nap (usually around 3/8-inch for brick surfaces). A thicker nap is better for textured surfaces like brick, as it will help ensure that paint gets into all the crevices and provides even coverage.
- Apply the First Coat: Dip the roller into the paint tray and evenly distribute the paint over the roller cover. Start applying the first coat of paint to the brick surface, working in small sections at a time. Roll the paint onto the bricks using a vertical or horizontal motion, depending on your preference, but maintain a consistent pattern throughout to avoid streaks. Be sure to overlap each stroke slightly to ensure complete coverage.
- Work in Small Sections: To prevent the paint from drying too quickly, work in small, manageable sections. Avoid "dry rolling" by keeping the roller well-saturated with paint. If you're working on a particularly large wall, have a helper assist you to maintain a "wet edge" – this means that you should always paint into the section you just finished to create a seamless finish.
- Check for Drips and Runs: Periodically check for drips or runs of paint, especially in areas where the paint accumulates, such as near mortar joints. Correct any drips or uneven coverage immediately by smoothing them out with a brush or roller before they dry.
Step 4: Clean Up and Maintenance
Once you've completed the painting process, proper clean-up and ongoing maintenance are essential to ensure the longevity and beauty of your painted exterior brick. Here are some additional details on these important final steps:
- Dispose of Materials: Dispose of empty paint cans and used materials in accordance with local regulations. Many communities have specific guidelines for the disposal of paint-related items, so be sure to follow them.
- Clean Your Brushes and Rollers: Thoroughly clean your paintbrushes and rollers for future use. Follow the paint manufacturer's instructions for cleaning tools and equipment, using appropriate solvents or cleaning agents. Store them in a cool, dry place to prevent damage.
- Inspect and Touch-Up: After the second coat has dried, inspect the painted brick surface carefully for any missed spots, uneven coverage, or imperfections. Use a paintbrush to touch up these areas as needed. This step is crucial to ensure a consistent and beautiful finish.
- Regular Maintenance: To keep your painted exterior brick looking its best over time, conduct regular inspections. Look for signs of wear, fading, or damage, and address them promptly with touch-up paint. Additionally, consider periodic cleaning to remove dust, pollen, or other debris that can accumulate on the surface.
By following these detailed steps for painting exterior brick and paying attention to the finer points of the process, you'll be well-equipped to achieve a stunning transformation for your home's façade that will leave a lasting impression. Proper preparation, meticulous painting, and ongoing maintenance will ensure that your newly painted exterior brick remains a source of pride and admiration for years to come.
In this how-to guide, we've covered the essential steps for painting exterior brick, from preparation to the final coat of paint. By following these expert tips and techniques, you can achieve a stunning transformation for your home's exterior that will leave your neighbors in awe.
If you're in Spanaway, WA, and looking for the best service provider to help you with your exterior brick painting project, look no further than
AllStar Painting LLC. With their expertise and commitment to quality, they can assist you in achieving the perfect look for your home. You can reach AllStar Painting LLC at
(253) 961-4756 for professional assistance and guidance.
Remember, painting exterior brick is not only a practical way to protect and preserve your home but also an opportunity to express your style and boost your property's curb appeal. So, roll up your sleeves, gather your materials, and embark on your journey to a more beautiful and captivating home façade with the power of painting exterior brick.
Transform your home's curb appeal with our top 10 paint colors for a stunning house exterior. Elevate your home's beauty with these vibrant choices!
Explore 2024's latest house painting styles and techniques. Get professional service insights for vibrant, trendy, and durable home aesthetics.
Transform your home for the holidays with professional drywall repair services. Achieve a flawless, cozy ambiance this winter season.
Get your home holiday-ready with our pressure washing guide. Ensure sparkling clean walls before hanging your cherished Christmas decorations.
Discover the top 10 paint colors to transform your house into a cozy and stylish home, enhancing mood and beauty in every room.
Elevate your business with trendy commercial exterior painting! Discover eco-friendly options and bold colors in our latest guide.
Learn why professional cabinet painting is crucial for home transformations in our article, enhancing your space's aesthetic wisely
Unveiling the timeline for interior house painting to aid homeowners in efficient redecoration planning.
Revitalize your home's exterior with expert brick painting services for a modern, fresh facade transformation.

Discover how epoxy floor coating transforms traditional spaces, blending old-world charm with modern durability and aesthetics. A renovation revolution!
Quick Links
Contact Us


Rick@allstarpainting.com

Allstar Painting LLC 1004 186th Street CT E Spanaway WA 98387-7914
Follow us on


View more